


Photo by Nenad Novaković on Unsplash
How to connect your Flutter web app with MetaMask & Web3 — Tutorial


With the rise of decentralized applications, I often get asked on my Instagram if Flutter is suitable for developing on the Web3. Today, I prepared this quick tutorial where I will show you how you can connect your Flutter web app with Web3 via MetaMask. Inspired by this YouTube video and the example on this package.
First, make sure you have installed and created an account with MetaMask.
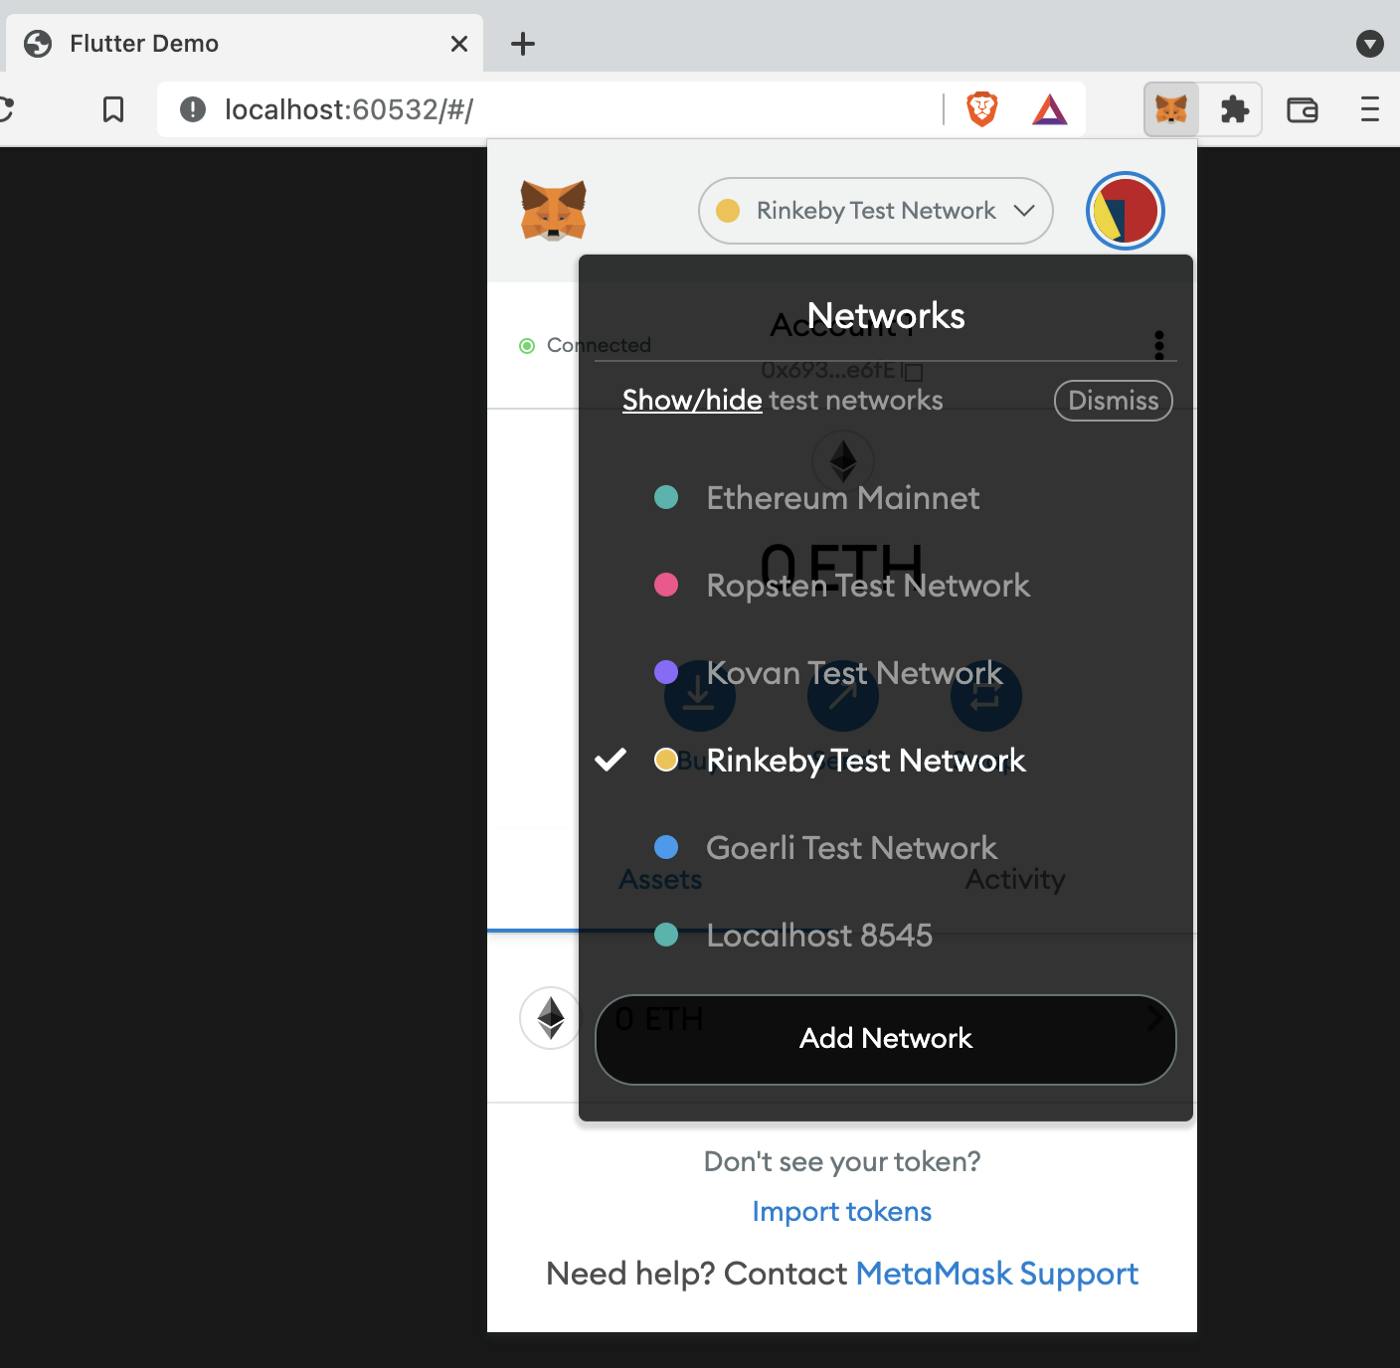
We will be using the testing network: Rinkeby. On your wallet make sure you change to that network on the top right.
To start, create a new Flutter project and add these dependencies to your pubspec.yaml file:
flutter_web3: ^2.1.6

provider: ^6.0.0
We’ll be using flutter_web3 to connect to a chain and provider for state management.
Now, let’s create a MetaMask provider which will be responsible for connecting and holding its current state.
Create a file called metamask_provider.dart
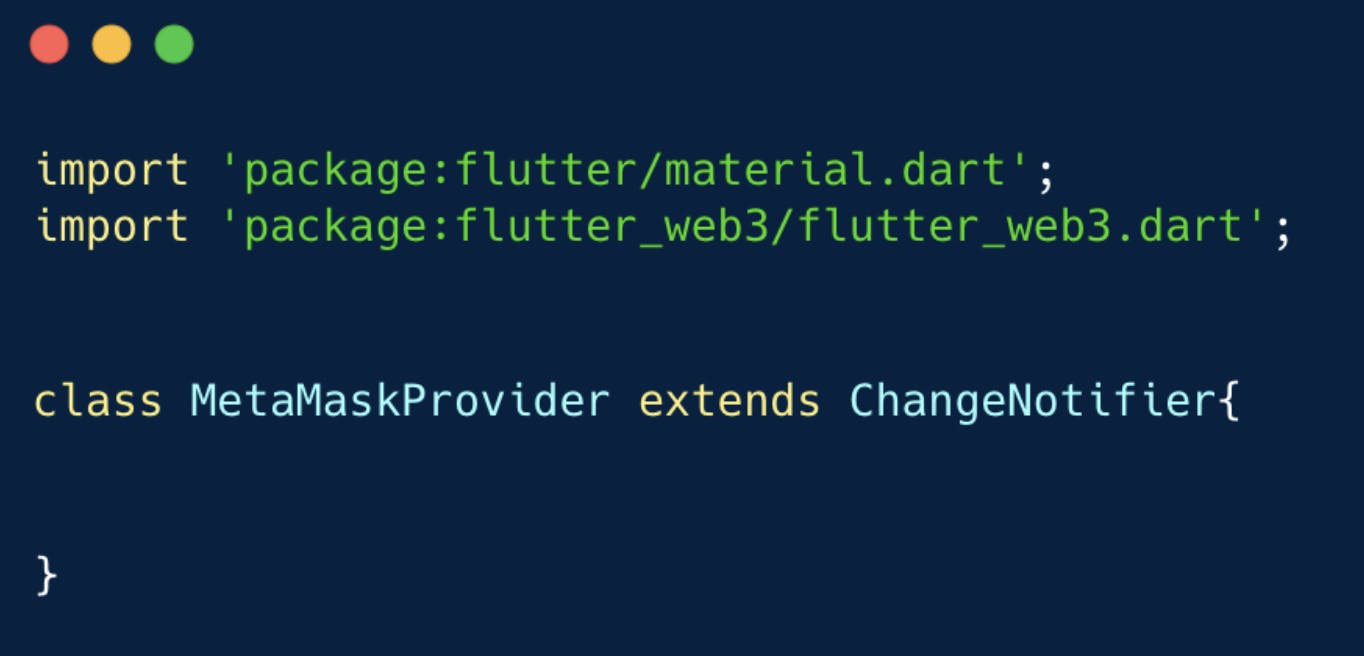
The provider should extend ChangeNotifier so we can update the changes accordingly in the UI.
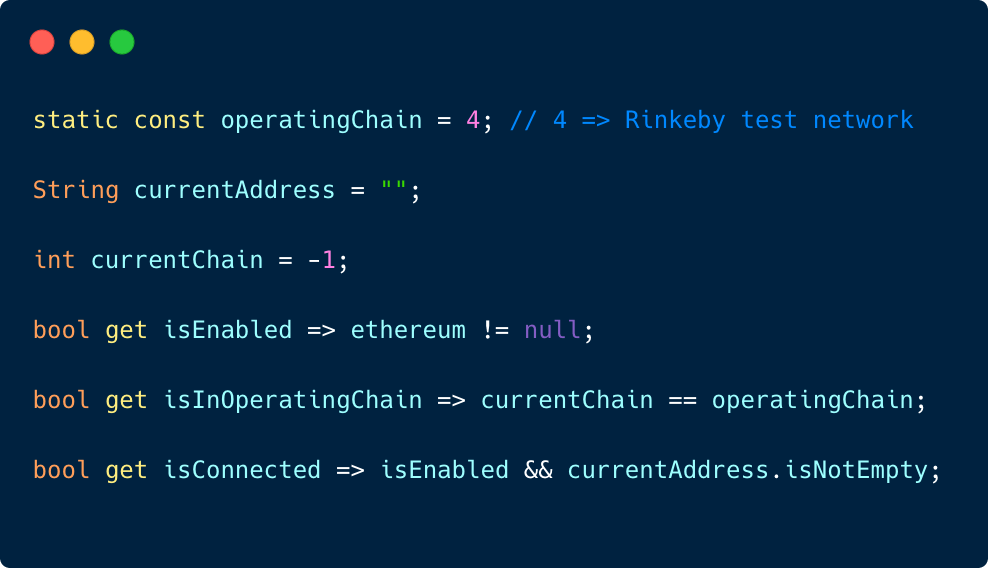
We will be testing it out on the Rinkeby test network which is represented by the number 4 on the operating chain.
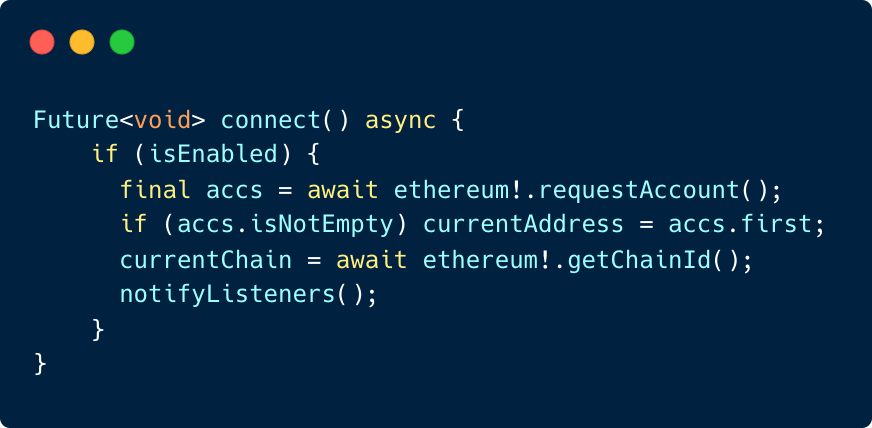
Our connect function will request the MetaMask account via the ethereum global object that the library flutter_web3 provides. If there is an account we will get it and save it to our current address variable. We’ll also save the chain we are operating in and call change notifier to update the UI accordingly.
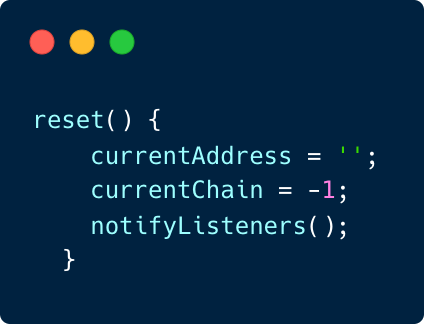
Make sure to also create a reset function that will reset the current address and the current chain.
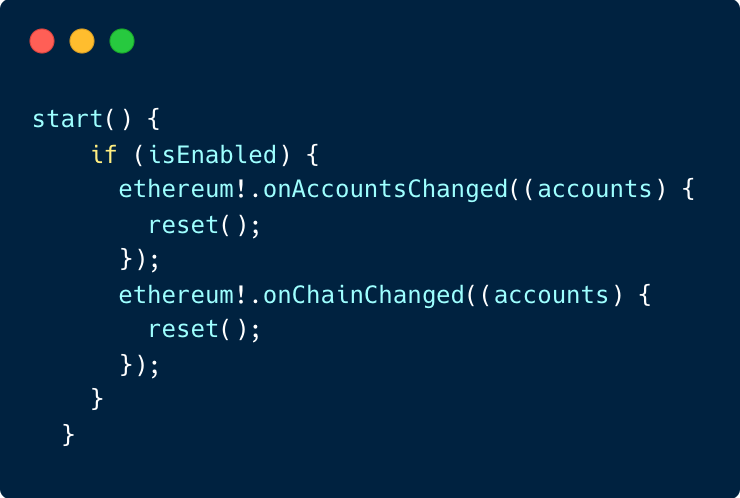
And let’s finish off the provider by writing a start function that will be responsible for resetting everything if there is any change in the account or chain.
Awesome. You’re almost done.
Now copy this simple UI so you can test it. This basically uses ChangeNotifierProvider to update the UI based on the connection with MetaMask.
class Web3Home extends StatelessWidget {
  const Web3Home({Key? key}) : super(key: key);

  @override
  Widget build(BuildContext context) {
    return Scaffold(
      backgroundColor: const Color(0xFF181818),
      body: ChangeNotifierProvider(
          create: (context) => MetaMaskProvider()..start(),
          builder: (context, child) {
            return Container(
              child:
                Center(
                  child: Consumer<MetaMaskProvider>(
                    builder: (context, provider, child) {
                      late final String message;
                      if (provider.isConnected && provider.isInOperatingChain) {
                        message = 'Connected';
                      } else if (provider.isConnected &&
                          !provider.isInOperatingChain) {
                        message =
                            'Wrong chain. Please connect to ${MetaMaskProvider.operatingChain}';
                      } else if (provider.isEnabled) {
                        return Column(
                          mainAxisSize: MainAxisSize.min,
                          children: [
                            MaterialButton(
                              onPressed: () =>
                                  context.read<MetaMaskProvider>().connect(),
                              color: Colors.white,
                              padding: const EdgeInsets.all(0),
                              child: Row(
                                mainAxisSize: MainAxisSize.min,
                                children: [
                                  Image.network(
                                    'https://i0.wp.com/kindalame.com/wp-content/uploads/2021/05/metamask-fox-wordmark-horizontal.png?fit=1549%2C480&ssl=1',
                                    width: 250,
                                  ),
                                ],
                              ),
                            ),
                          ],
                        );
                      } else {
                        message = 'Please use a Web3 supported browser.';
                      }
                      return Text(
                          message,
                          textAlign: TextAlign.center,
                          style: TextStyle(color: Colors.white),
                      );
                    },
                  ),
                ),
            );
          }),
    );
  }
}
Unfortunately, MetaMask does not work on debug mode so run your Flutter app using this command:
flutter run -d web-server
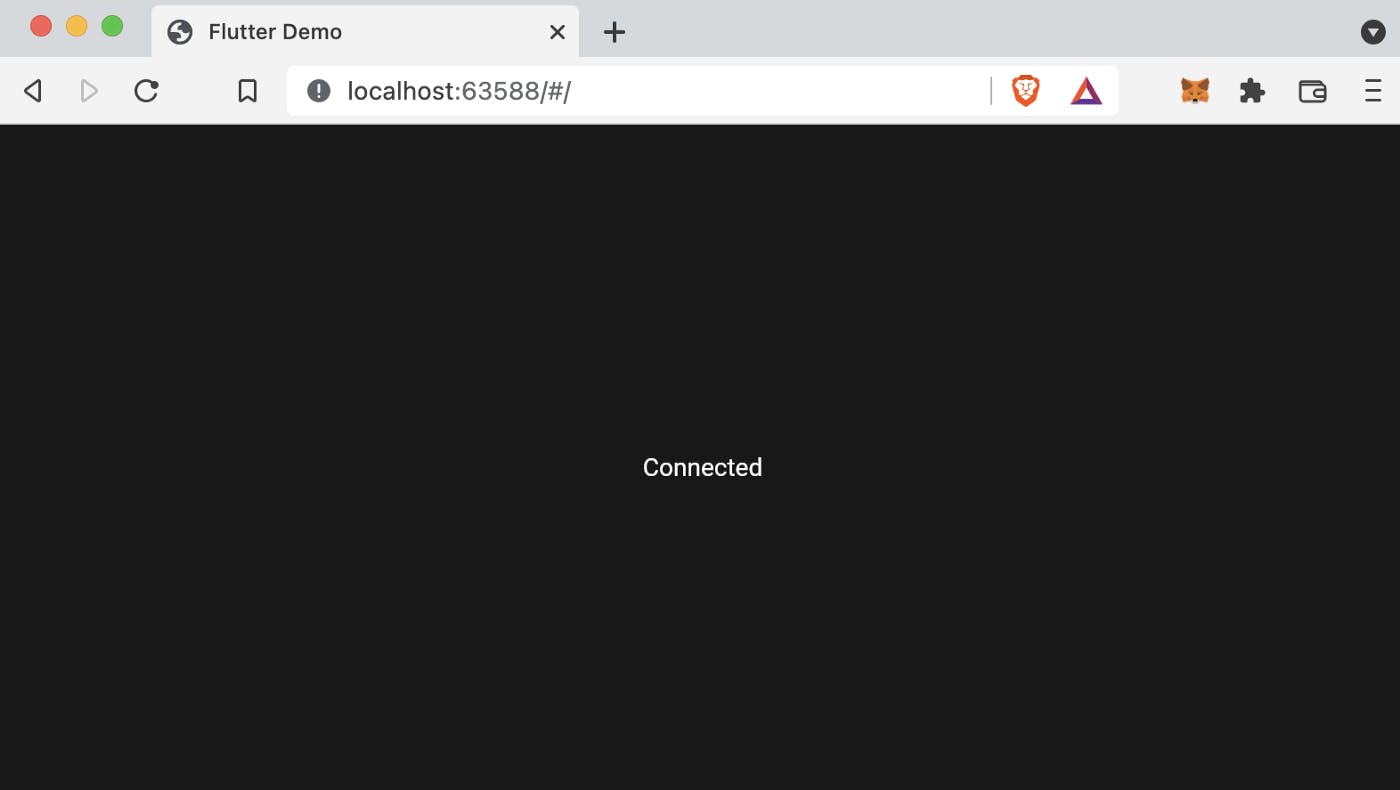
This should spawn a server on your local host at some port. Launch it using the browser you have MetaMask on and you should get something like this:
Note: your port will be different
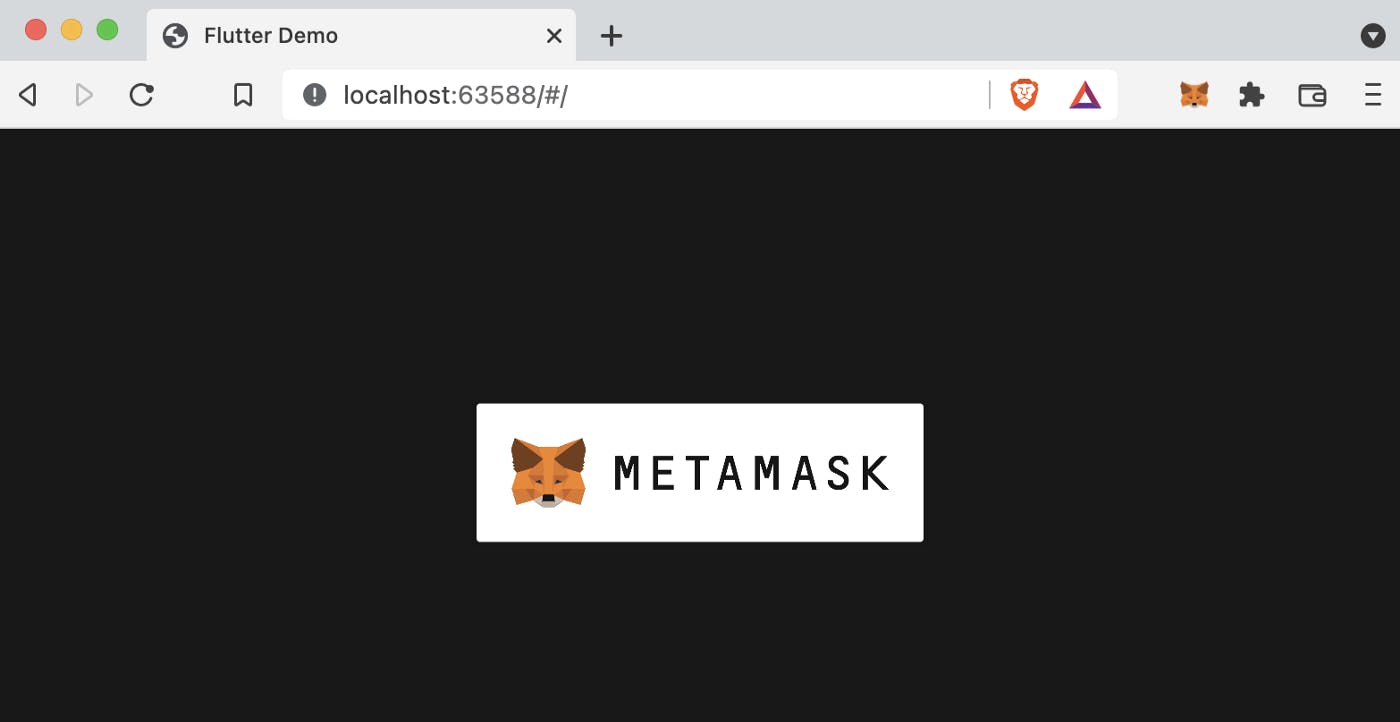
Click on the MetaMask Button:
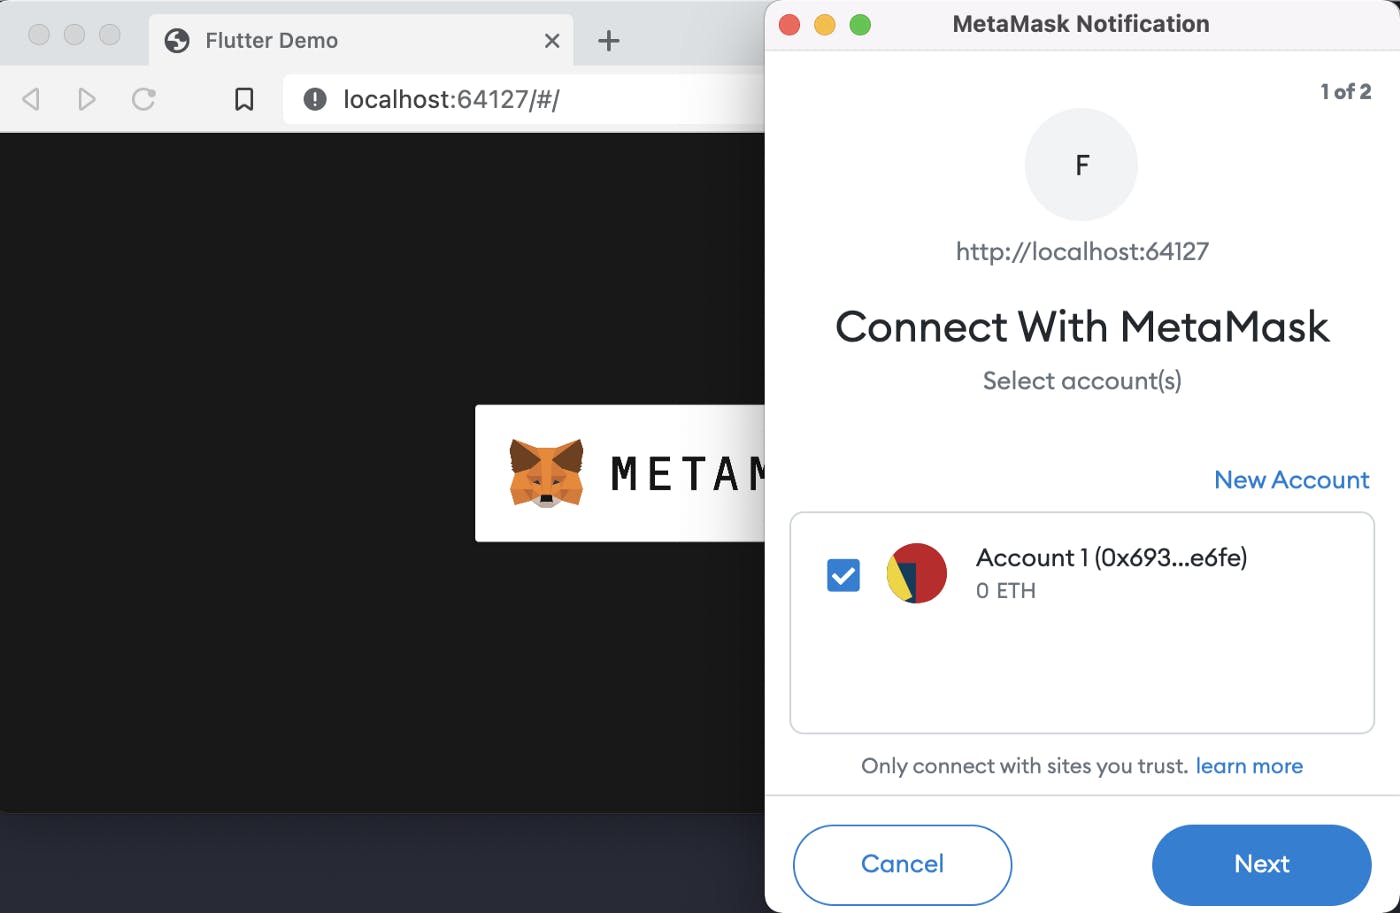
It should open up a pop-up dialog asking you to connect with one of your accounts. After clicking through the steps you should get a connected message on your app :)
Perfect! Now you have successfully finished the first step in creating an application for Web3.
Thank you for reading! Leave a clap if you enjoyed it and let us know in the comments if you want more tutorials like this.
Learn Flutter where you code: Visit sideguide.dev/courses/flutter
Follow us on Instagram!
Important: Only connect your account with apps you trust. Flutter Guide is not responsible for any mistake you make with your crypto/coding endeavors.